Next.js Authentication with Apollo Client
This example demonstrates authentication with username and password in a headless WordPress setup, running Next.js as a frontend framework. Example is using WPGraphQL and WPGraphQL Headless Login plugins to enable authentication features.
Screenshots
Section titled “Screenshots”After following the installation steps, you should have the example webpage as shown in the screenshots below:
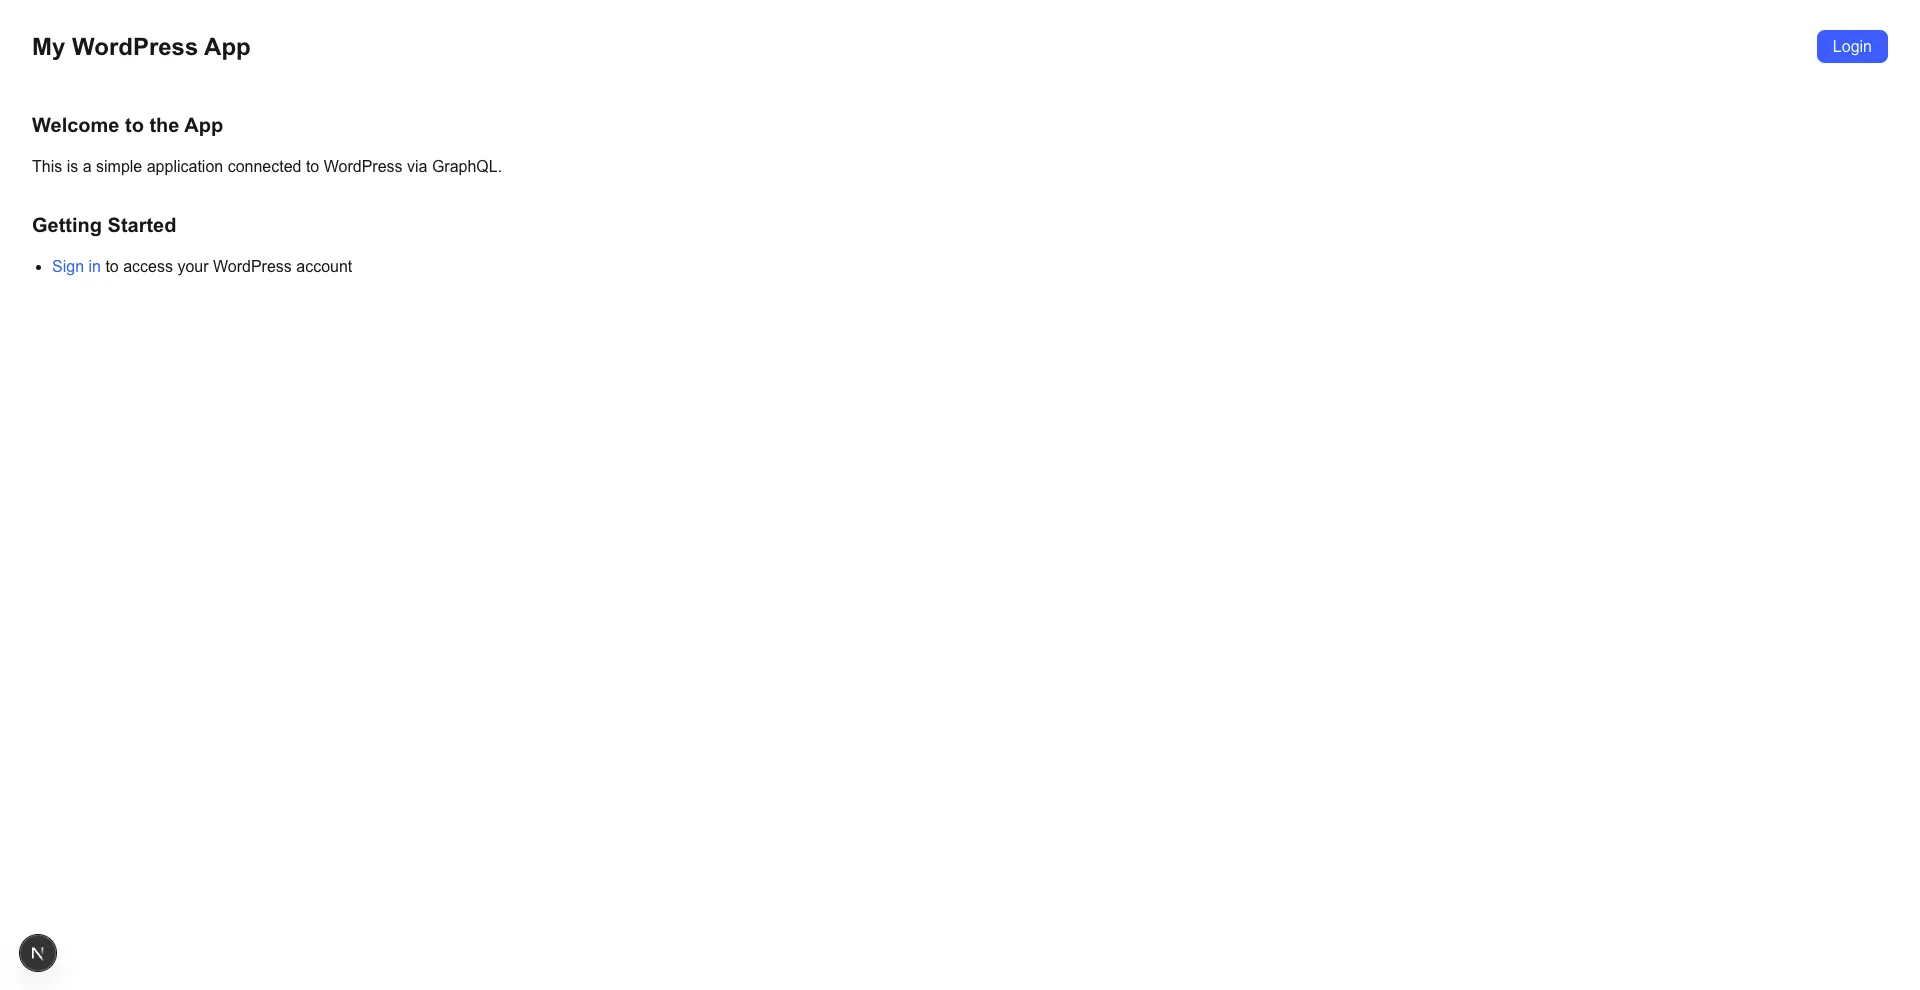 Login page |  After login |
Project Structure
Section titled “Project Structure”.├── example-app/ # Next.js application folder containing frontend code│ └── src/│ ├── components/ # Reusable React components│ ├── lib/ # Apollo Client configuration, client and helpers│ └── pages/ # Next.js page routes├── .wp-env.json # wp-env configuration file└── wp-env └── db └── database.sql # WordPress database including all demo data for the exampleRunning the example with wp-env
Section titled “Running the example with wp-env”Prerequisites
Section titled “Prerequisites”- Node.js (v18+ recommended)
- Docker (if you plan on running the example see details below)
Note Please make sure you have all prerequisites installed as mentioned above and Docker running (docker ps)
Setup Repository and Packages
Section titled “Setup Repository and Packages”- Clone the repo
git clone https://github.com/wpengine/hwptoolkit.git - Install packages
cd hwptoolkit && npm install - Setup a .env file under
examples/next/apollo-authentication/example-appand add these values inside:
NEXT_PUBLIC_WORDPRESS_URL=http://localhost:8888or run the command below:
echo "NEXT_PUBLIC_WORDPRESS_URL=http://localhost:8888" > examples/next/apollo-authentication/example-app/.envBuild and start the application
Section titled “Build and start the application”cd examples/next/apollo-authentication- Then run
npm run example:buildwill build and start your application. - This does the following:
- Starts up wp-env
- Imports the database from
wp-env/db/database.sql - Install Next.js dependencies for
example-app - Runs the Next.js dev script
Congratulations, WordPress should now be fully set up.
| Frontend | Admin |
|---|---|
http://localhost:3000/ | http://localhost:8888/wp-admin/ |
Note: The login details for the admin is username “admin” and password “password”
Command Reference
Section titled “Command Reference”| Command | Description |
|---|---|
example:build | Prepares the environment by starting WordPress, importing the database, and starting the application. |
example:dev | Runs the Next.js development server. |
example:dev:install | Installs the required Next.js packages. |
example:start | Starts WordPress and the Next.js development server. |
example:stop | Stops the WordPress environment. |
example:prune | Rebuilds and restarts the application by destroying and recreating the WordPress environment. |
wp:start | Starts the WordPress environment. |
wp:stop | Stops the WordPress environment. |
wp:destroy | Completely removes the WordPress environment. |
wp:db:query | Executes a database query within the WordPress environment. |
wp:db:export | Exports the WordPress database to wp-env/db/database.sql. |
wp:db:import | Imports the WordPress database from wp-env/db/database.sql. |
Note You can run
npm run wp-envand use any other wp-env command. You can also see https://www.npmjs.com/package/@wordpress/env for more details on how to use or configurewp-env.
Database access
Section titled “Database access”If you need database access add the following to your wp-env "phpmyadminPort": 11111, (where port 11111 is not allocated).
You can check if a port is free by running lsof -i :11111
Running the example with custom WordPress setup
Section titled “Running the example with custom WordPress setup”Prerequisites
Section titled “Prerequisites”Before running this project, ensure you have the following:
- Node.js (version 18 or higher recommended)
- npm, yarn, pnpm, or bun package manager
- A WordPress instance with the following plugins installed and configured:
- WPGraphQL
- WPGraphQL Headless Login
WordPress Setup
Section titled “WordPress Setup”-
Install Plugins: In your WordPress admin dashboard, navigate to “Plugins” and install the following plugins:
- WPGraphQL: This plugin exposes your WordPress data via GraphQL.
- WPGraphQL Headless Login: This plugin enables authentication for headless WordPress setups.
-
Configure Headless Login: After installing WPGraphQL Headless Login, go to the plugin’s settings page (usually found under the “GraphQL” menu in your WordPress admin dashboard). Enable Credentials Authentication.

Environment Variables
Section titled “Environment Variables”Create a .env file in the root of your project with the following variable:
NEXT_PUBLIC_WORDPRESS_URL=<your_wordpress_url>Replace <your_wordpress_url> with the URL of your WordPress instance (e.g., https://your-wordpress-site.com). Do not include a trailing slash.
Getting Started
Section titled “Getting Started”-
Install Dependencies:
npm install# oryarn install# orpnpm install# orbun install -
Run the Development Server:
npm run dev# oryarn dev# orpnpm dev# orbun dev